Setup
This section is a quick introduction to setting up and running the tooling. We’ll use the wire spec from the Conceptual Overview.
Setting Up a Project
For teaching purposes, I like to start people off using the TLA+ IDE. It abstracts out some parts of TLA+ that can be difficult for beginners. You can download the most recent version of the Toolbox here. You will need Java for it to work.
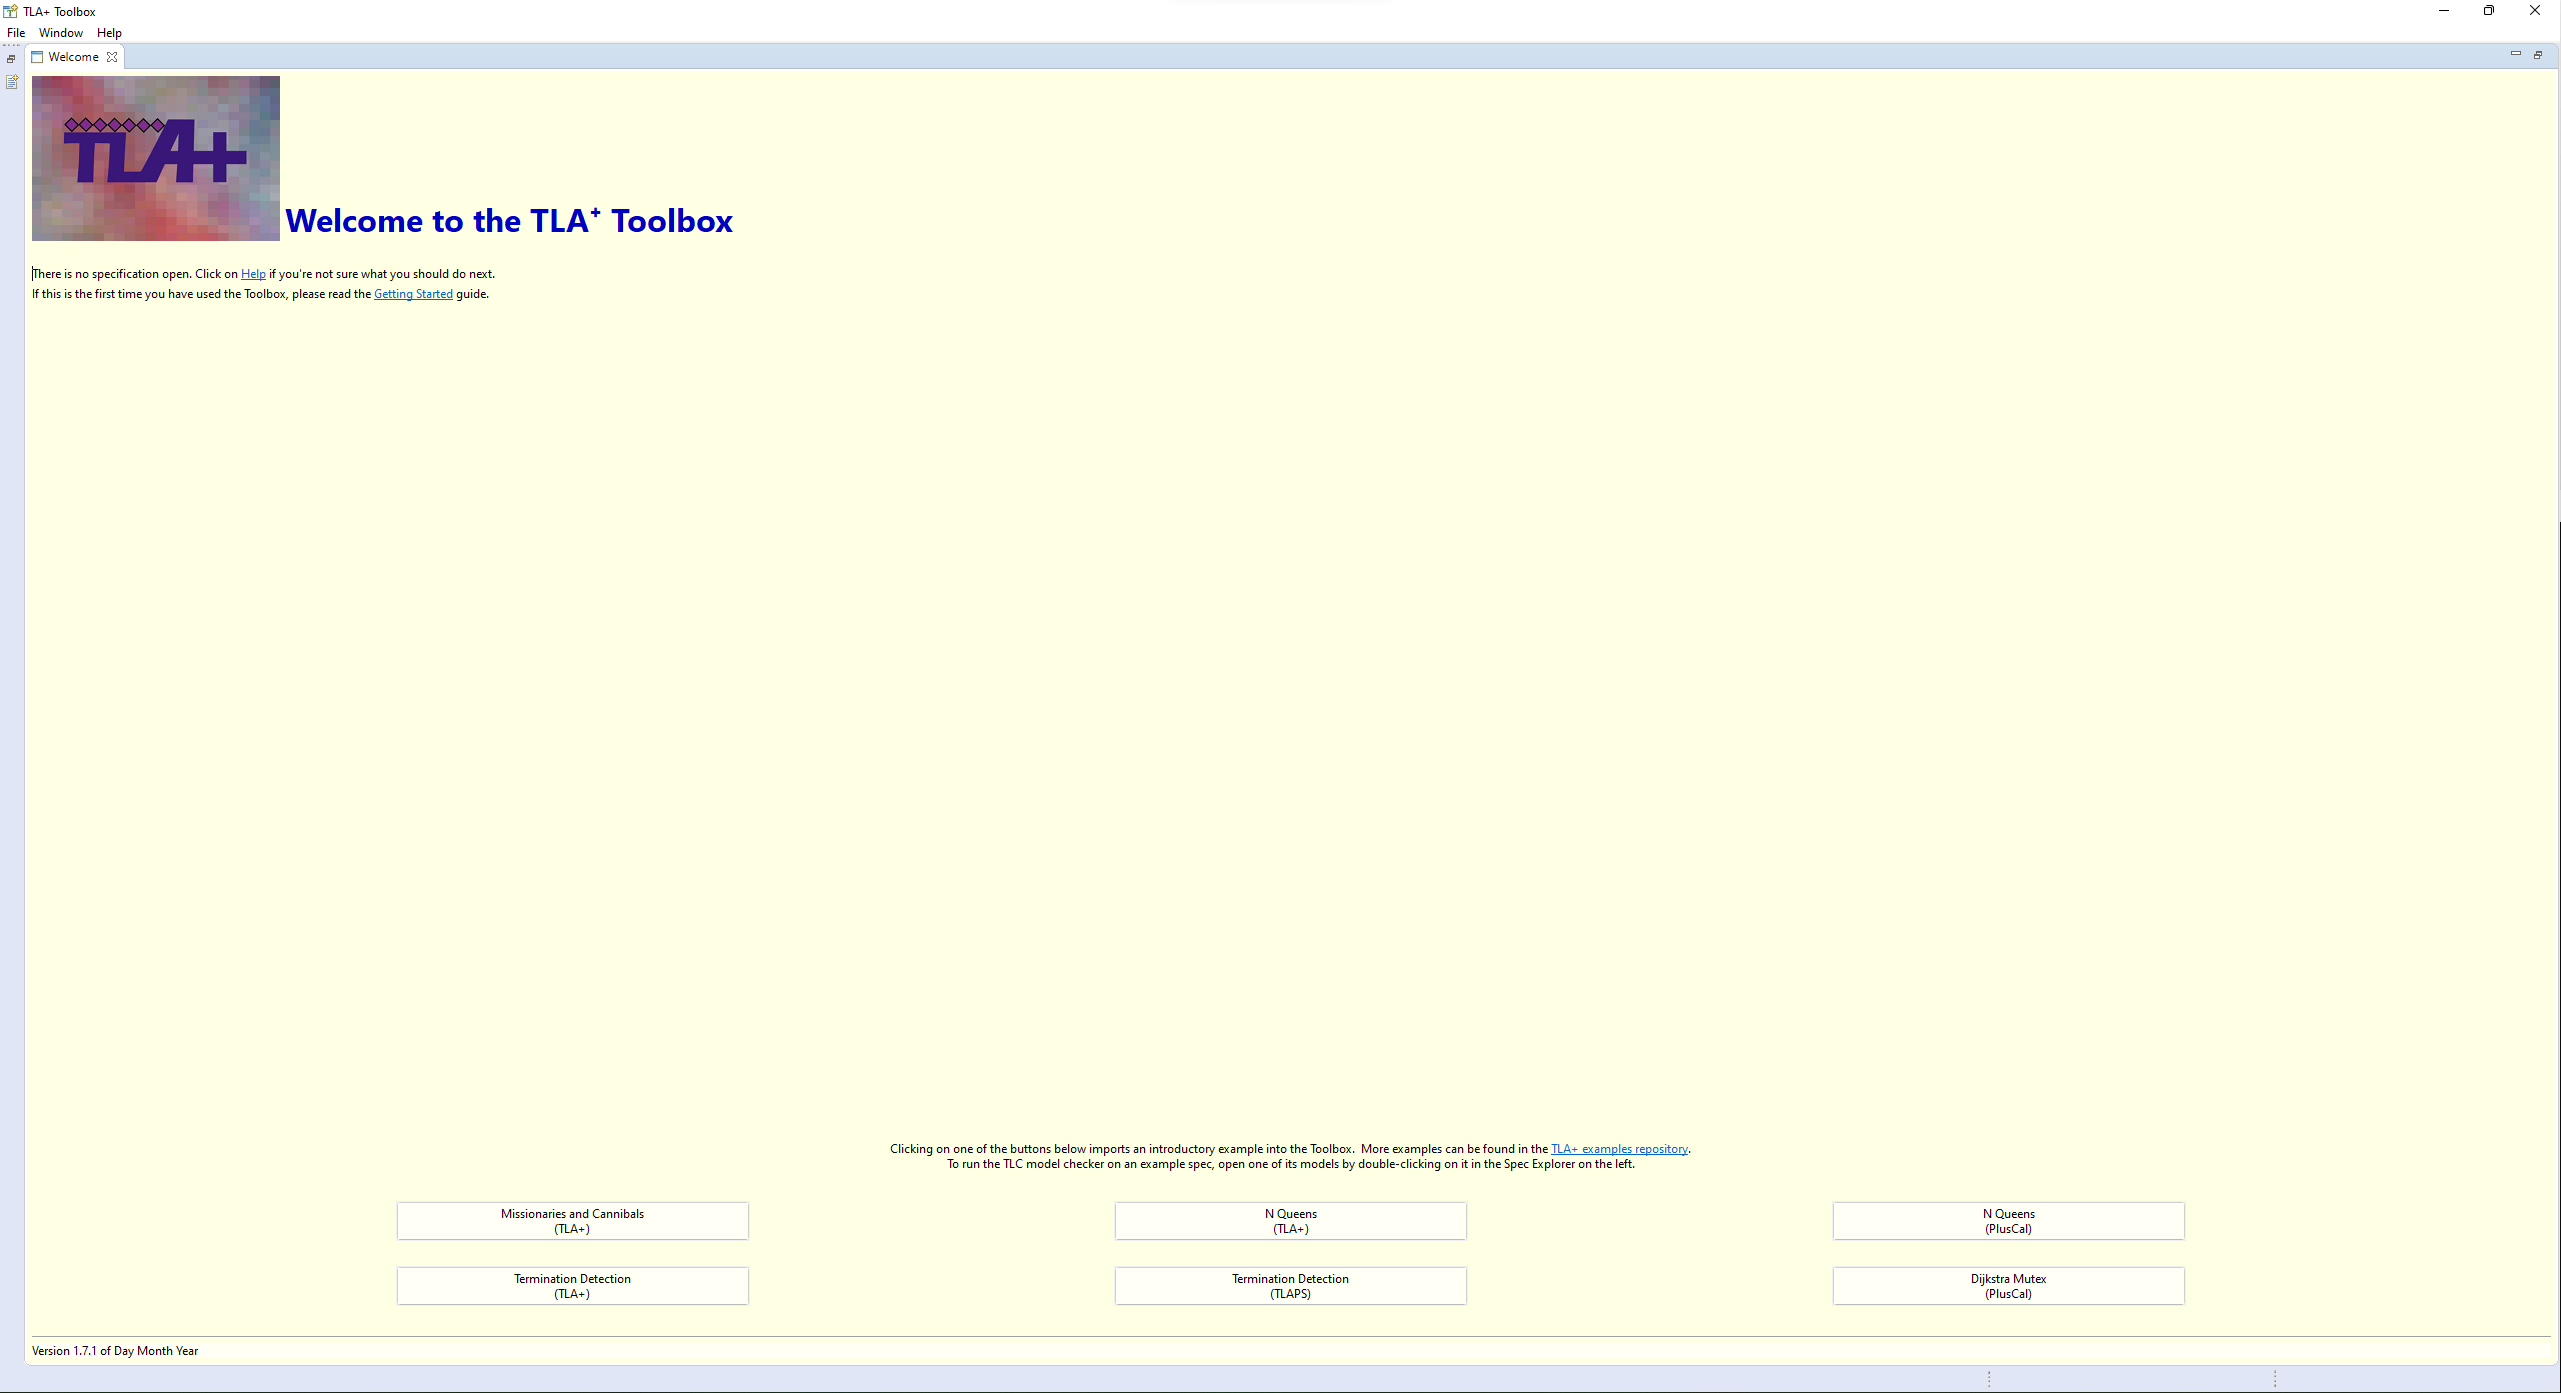
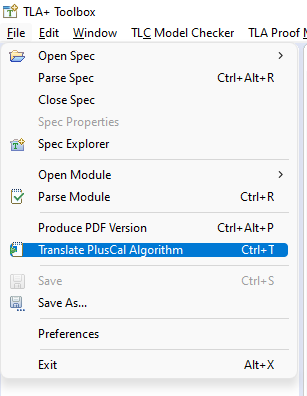
Once you have the toolbox, you’ll see an image like this:
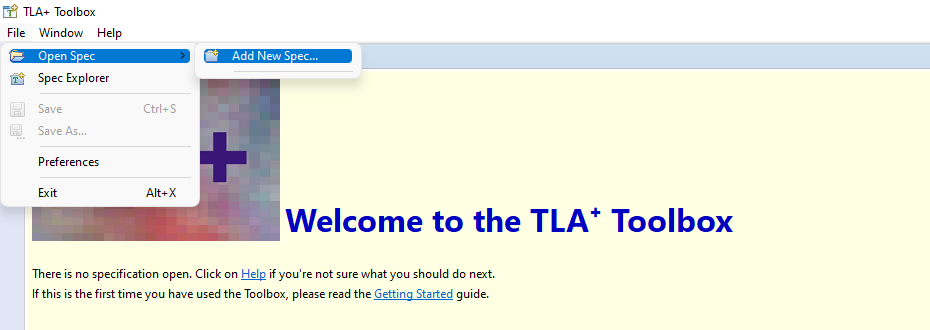
Create a new specification under File > Open Spec > Add New Spec.
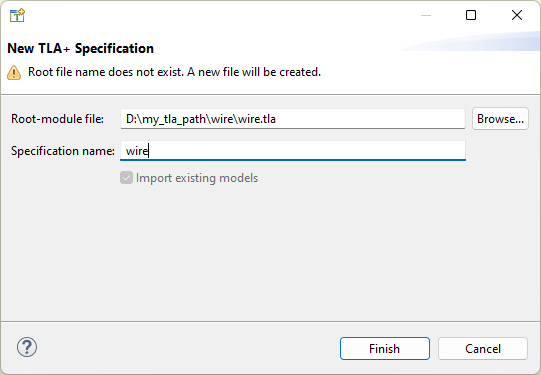
Once you do that, you should see something like this:
---- MODULE wire ----

====
For Historical Reasons, the MODULE $name must be surrounded by at least four dashes, the module must end with at least four equal-signs, and the $name of the module must match the filename (case sensitive). Everything above the module name and below the ==== is ignored, making those good places to store notes.
Let’s replace it with the contents of wire, so you get this:
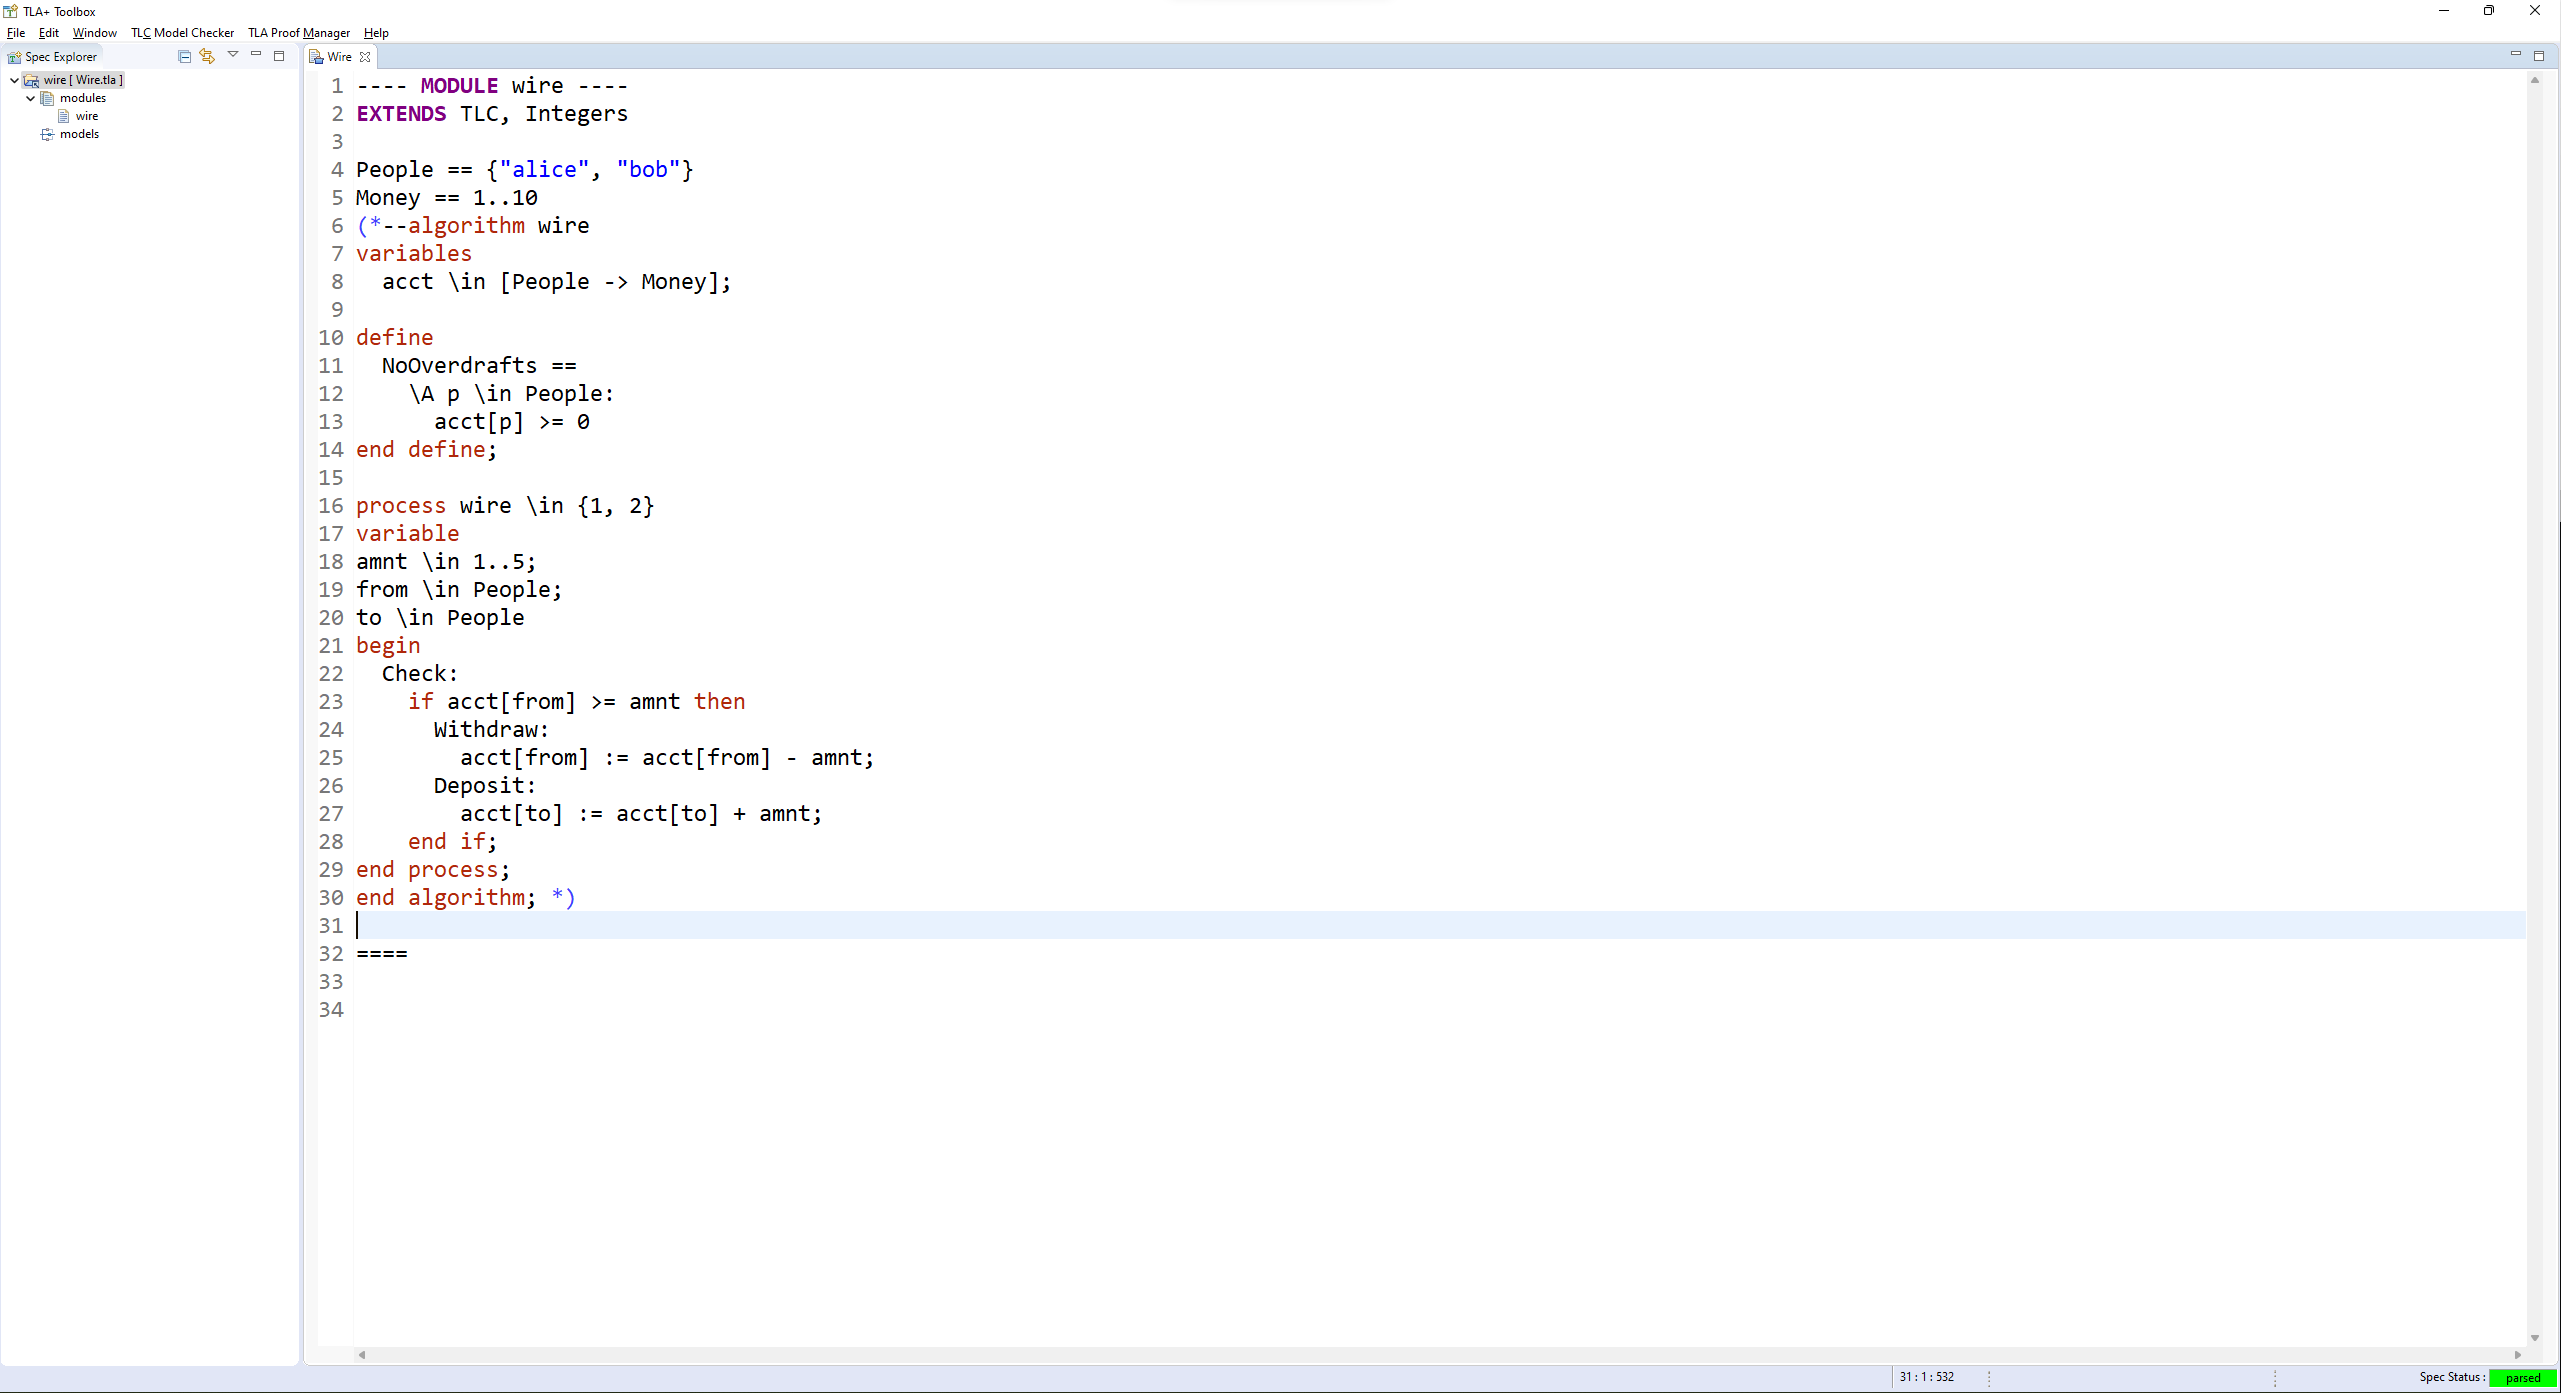
(There should only be one MODULE row at the top and one ==== row at the bottom. Make sure to change the name of the module in the first line if you named your spec Wire.tla instead!)
Translating Specs
As mentioned in the core outline, we’re going to be teaching pluscal. Translate it under File > Translate PlusCal Algorithm.
Tip
You can use the shortcut ctrl+T on Windows/Linux and cmd+T on Mac.
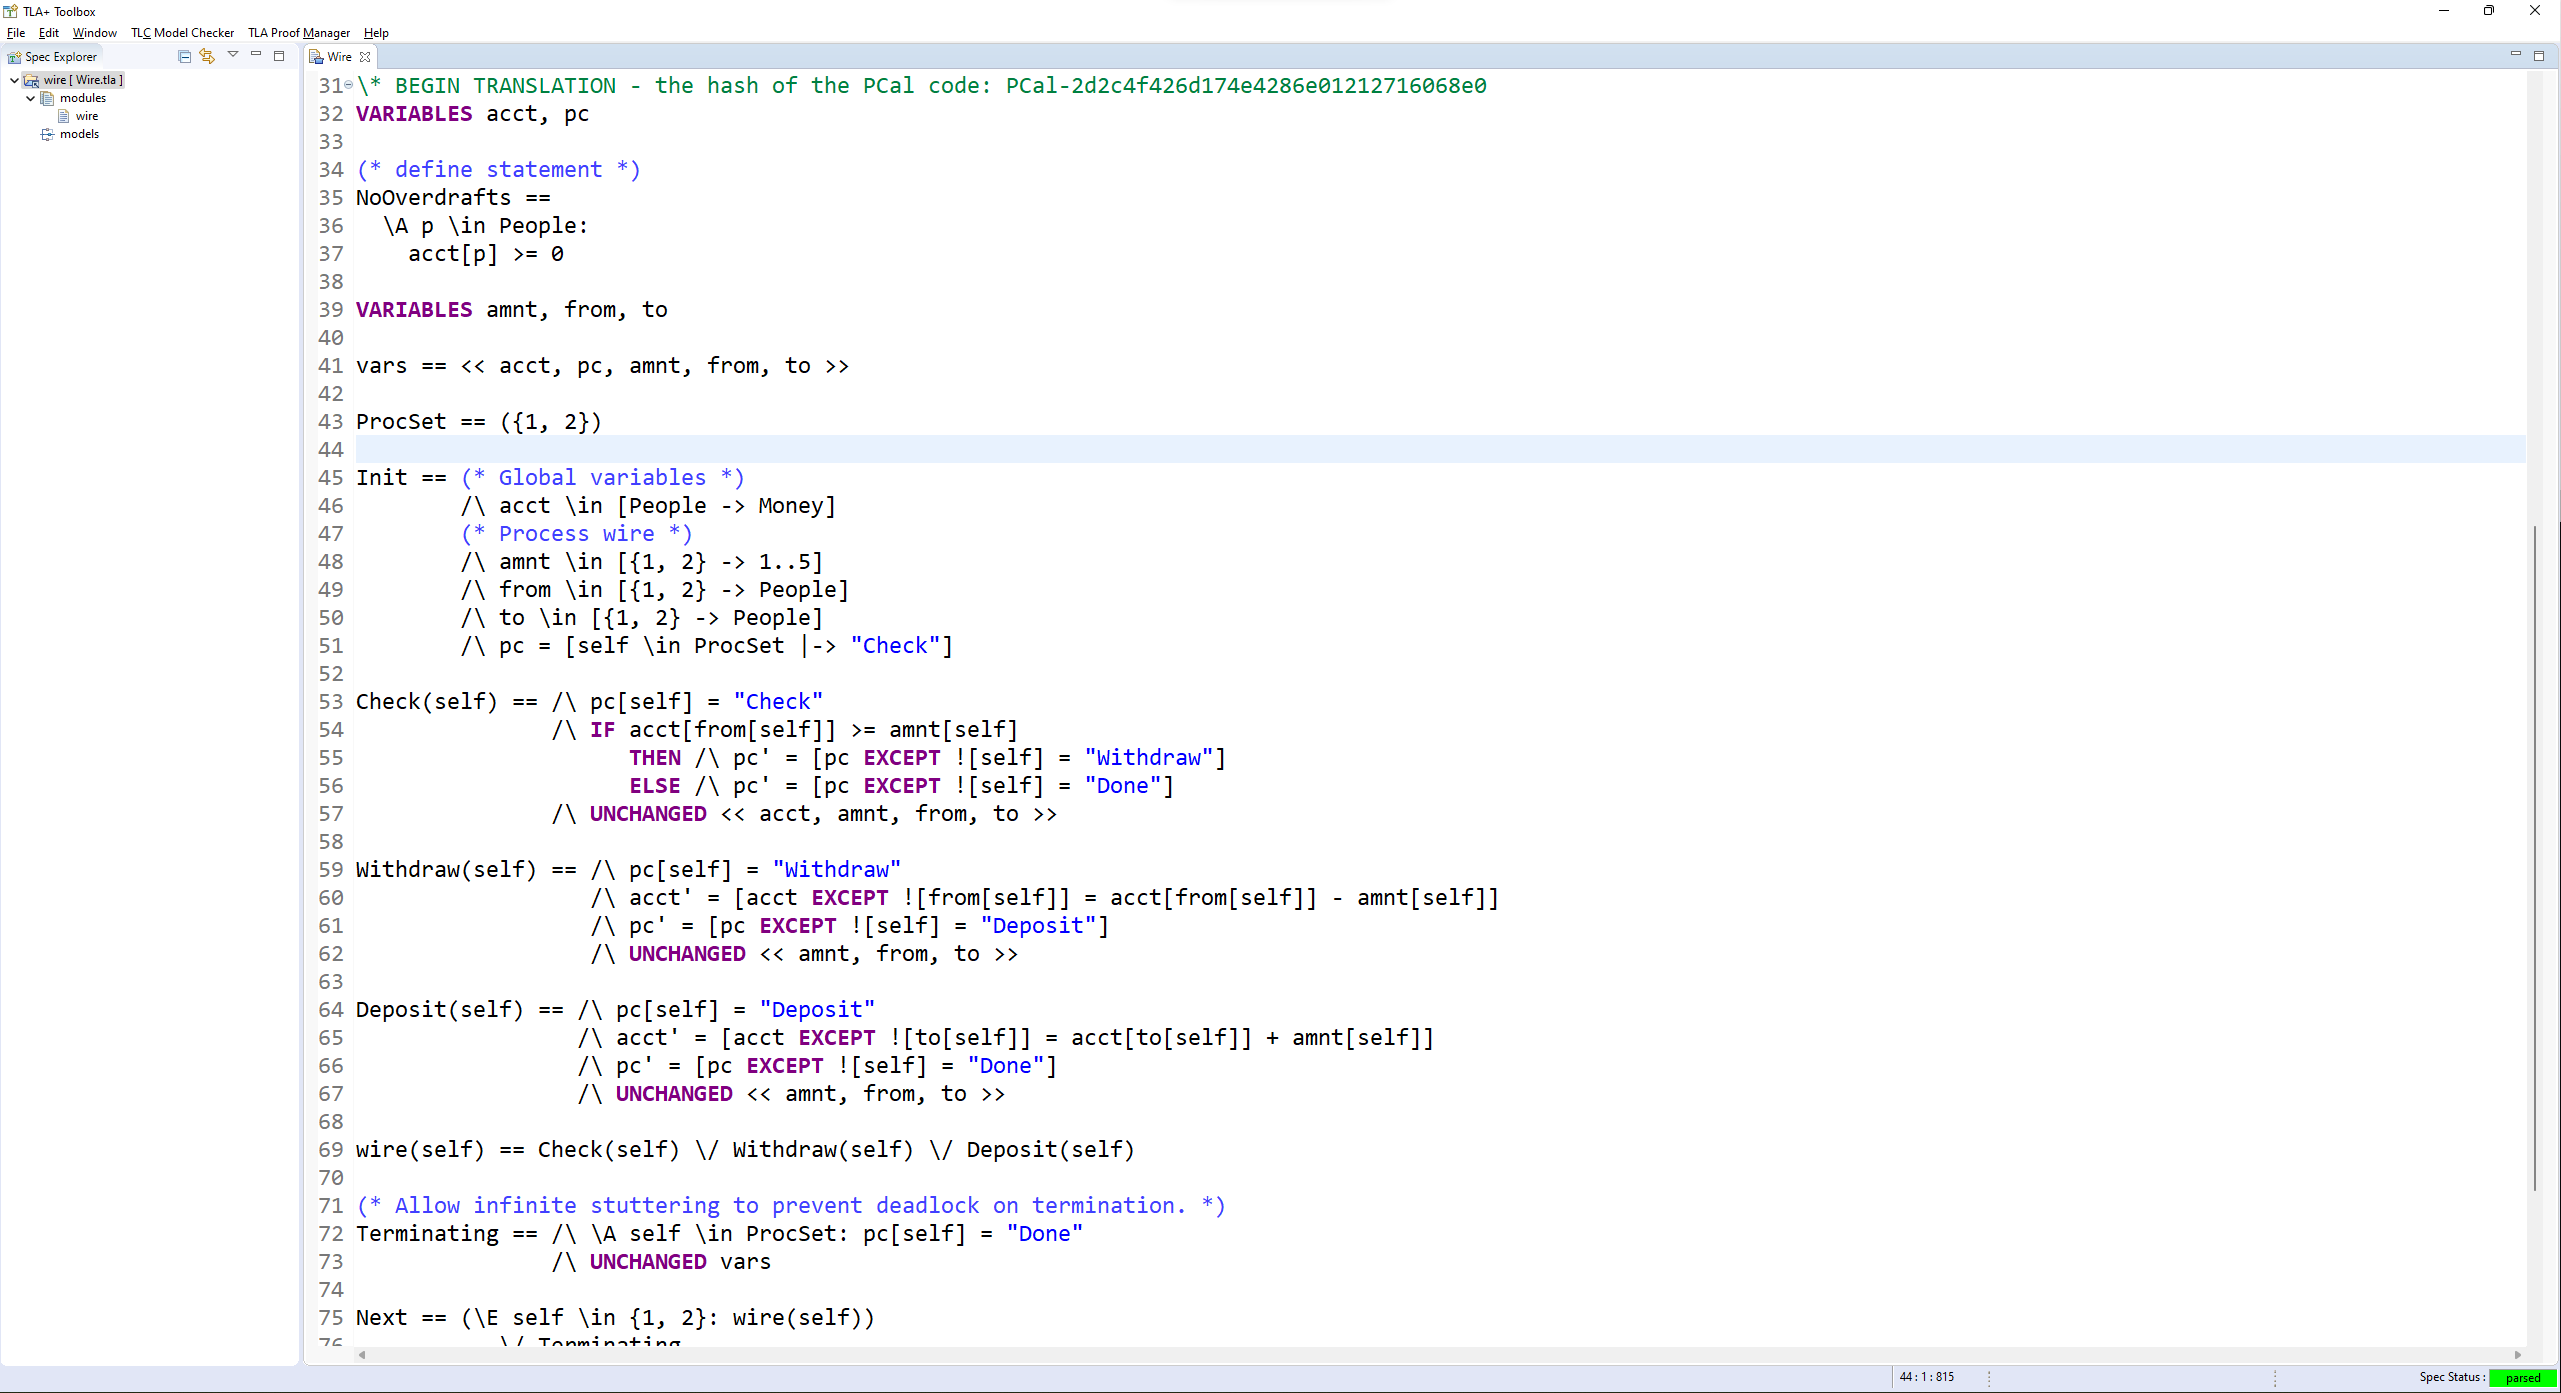
Once you do that, you should see this:
Running Models
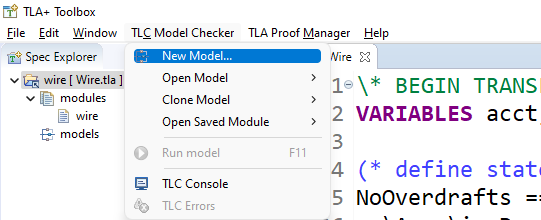
To actually check this with TLC, we have to create a new model to check. Do that under TLC Model Checker > New Model.
Once you do that, you should see this page:
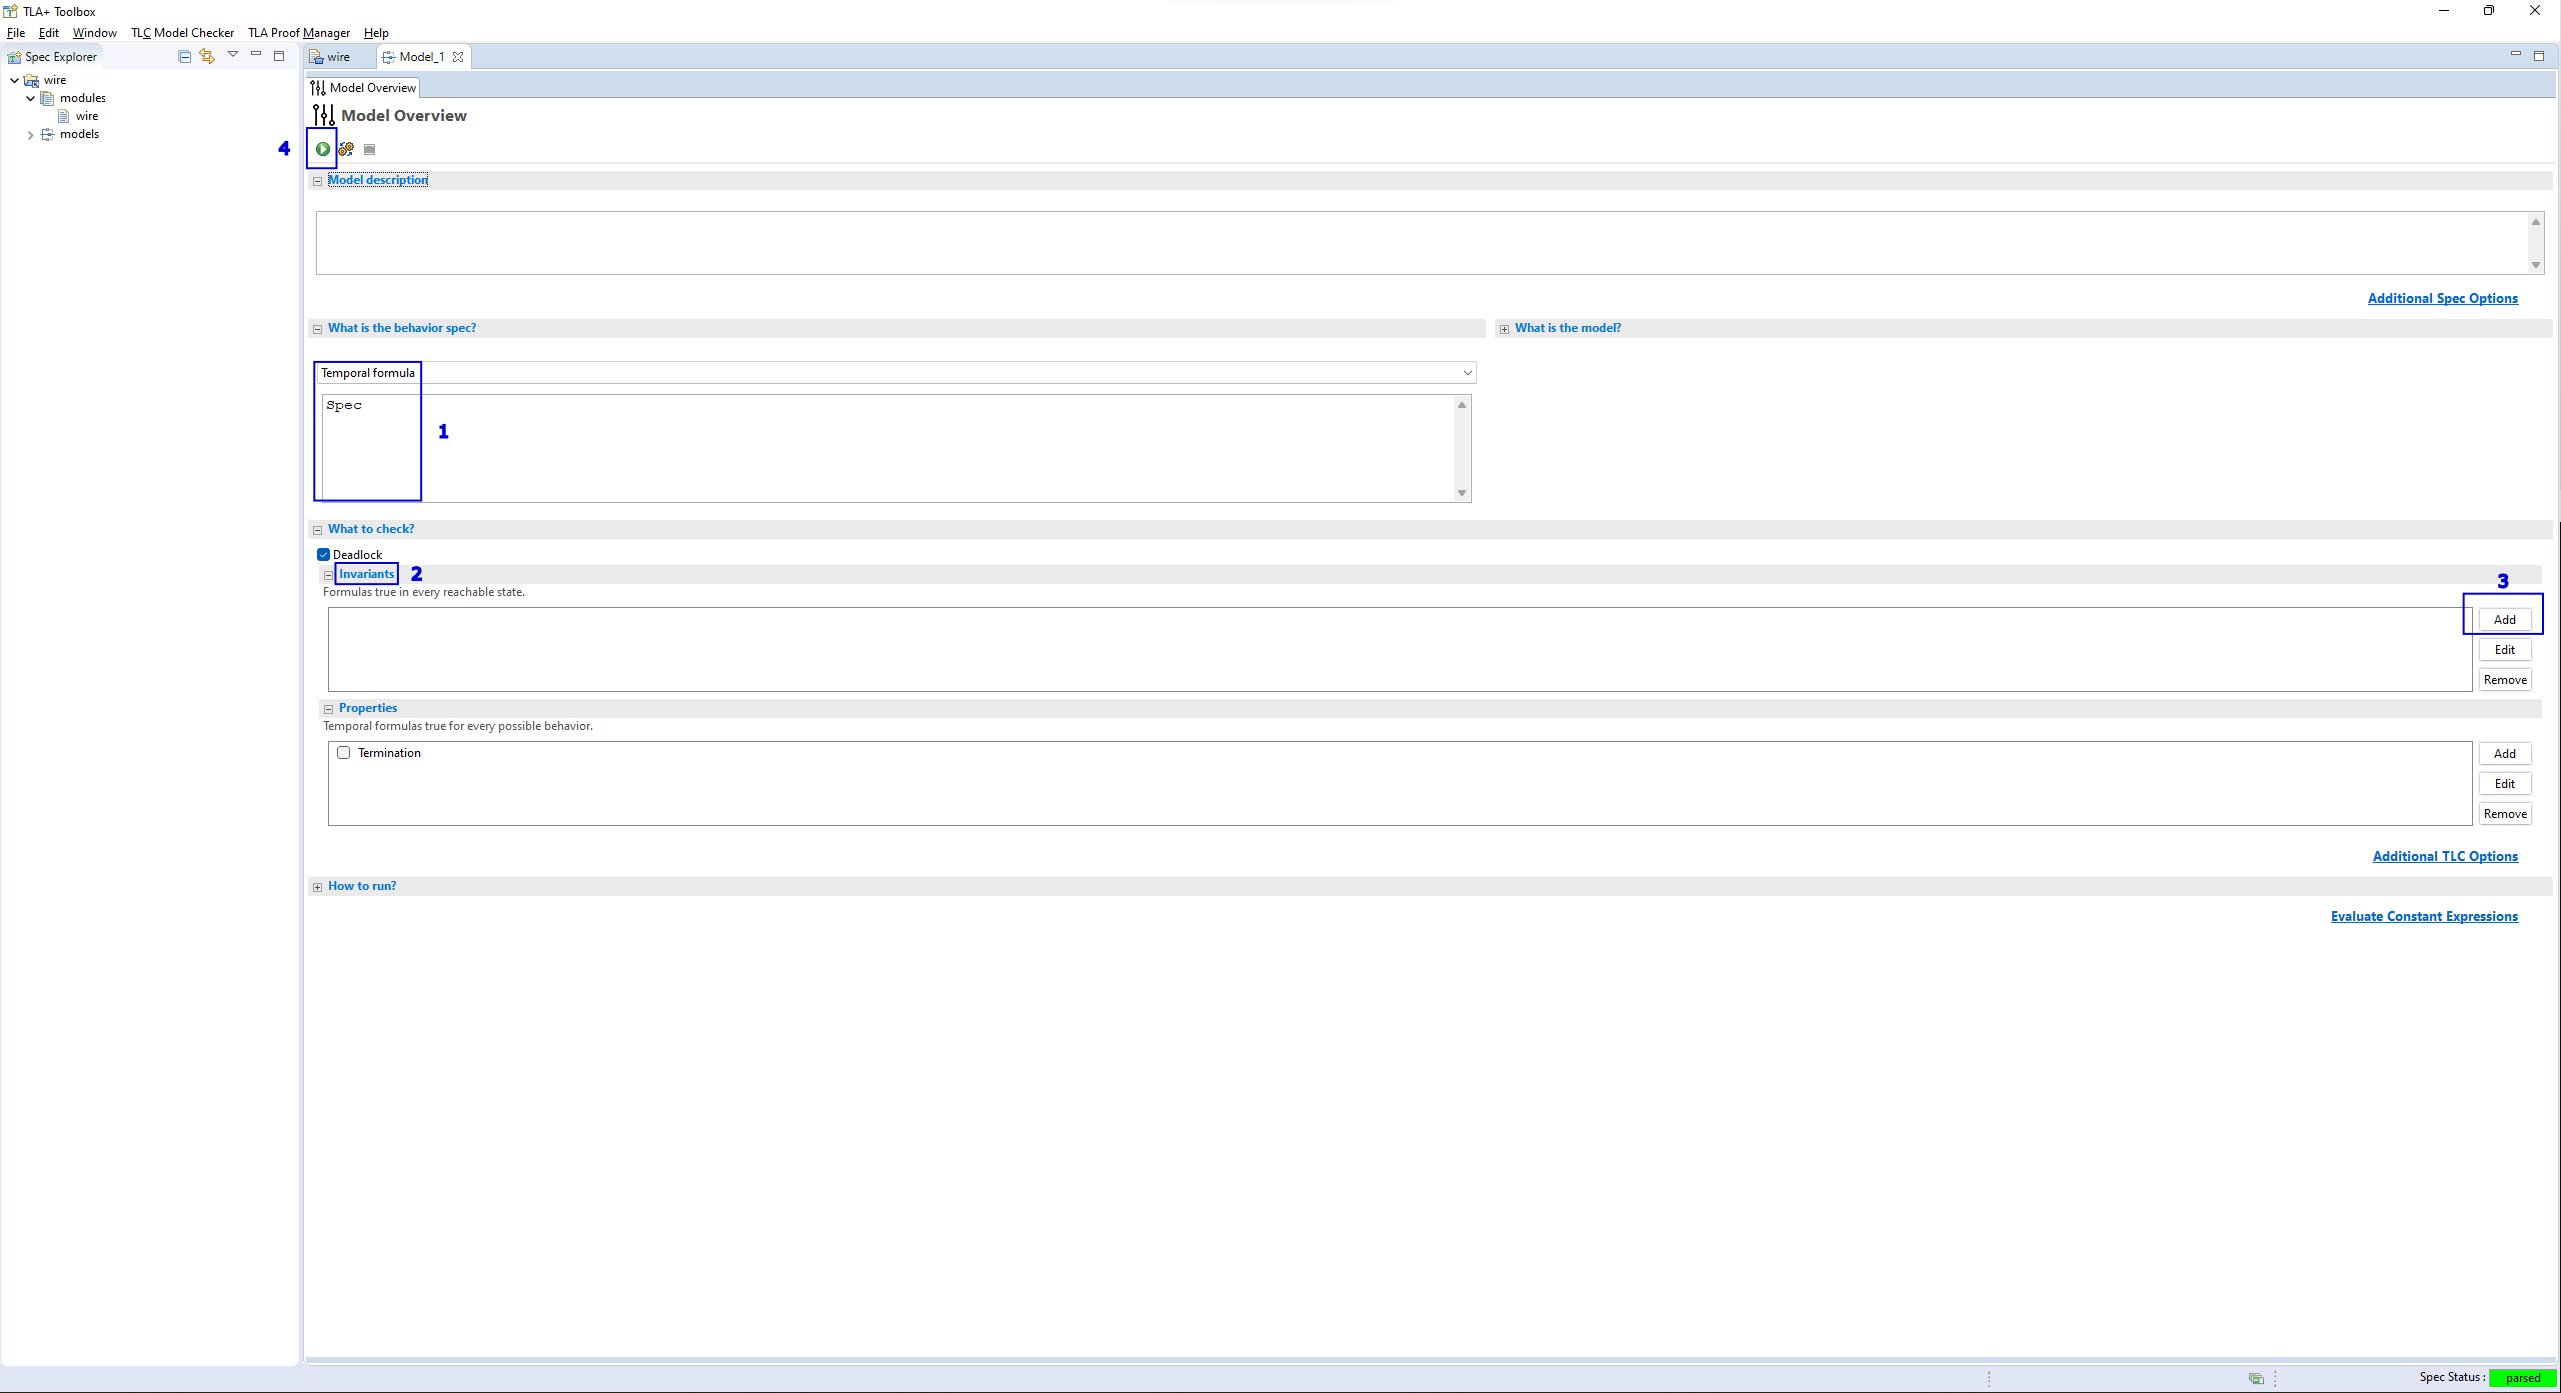
You might need to open this in a new tab to see the numbers
“What is the behavior spec” should be “Temporal Formula” and “Spec”. If it’s not, make sure you have only one set of
====in the spec, and the translated TLA+ is above it, then manually set the two fields.Click the “Invariants” box to open it up.
Click “Add”, and then insert the text
NoOverdrafts.Run the model, or press
F11.
When you run this, you will see an error pop up on the right side:
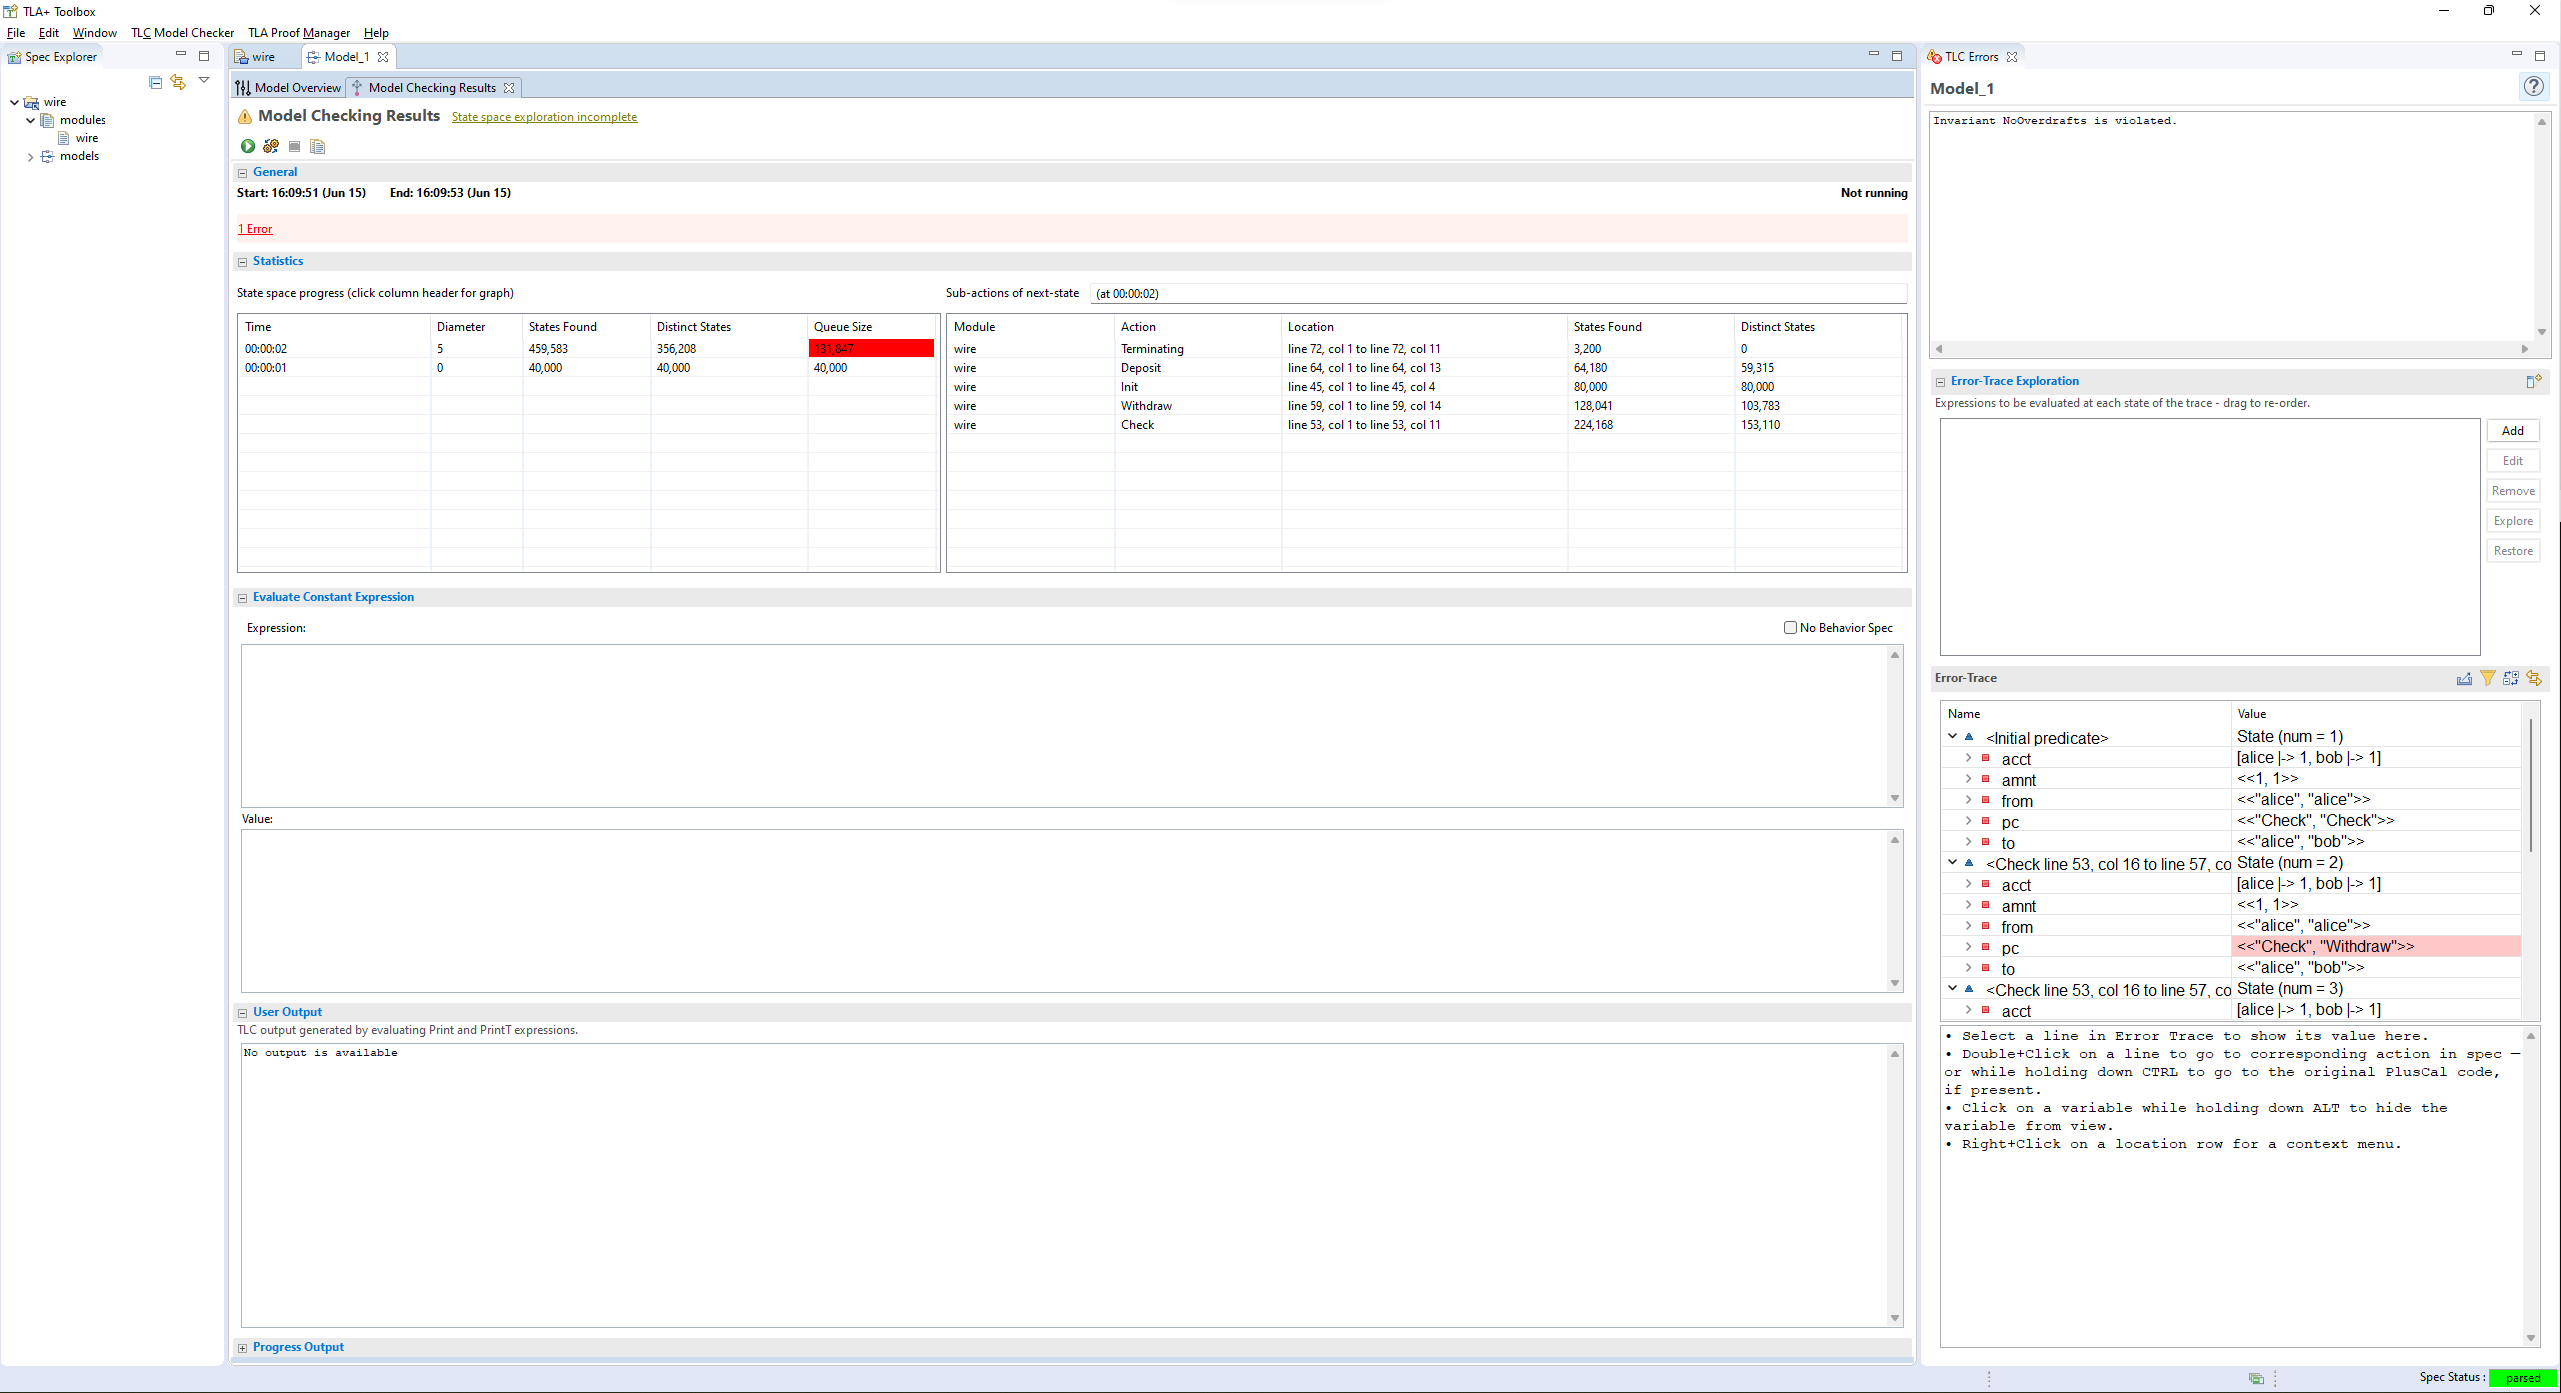
This is an error trace, showing the exact set of steps that lead to an invariant being violated. We’ll talk about it a bit more when we get into invariants in depth.
Making a Scratchfile
I often like to test the outputs of operators without having to run the entire spec. To do that, I have a separate spec that I call “scratch”:
---- MODULE scratch ----
EXTENDS Integers, TLC, Sequences

Eval == 0
====
This is different from a normal TLA+ file in two ways. First, instead of having “What is the behavior spec” set to “Temporal formula”, I have it set to “no behavior spec”. Second, on the “model checking results” page, I put Eval in the “Evaluate Constant Expression” box.
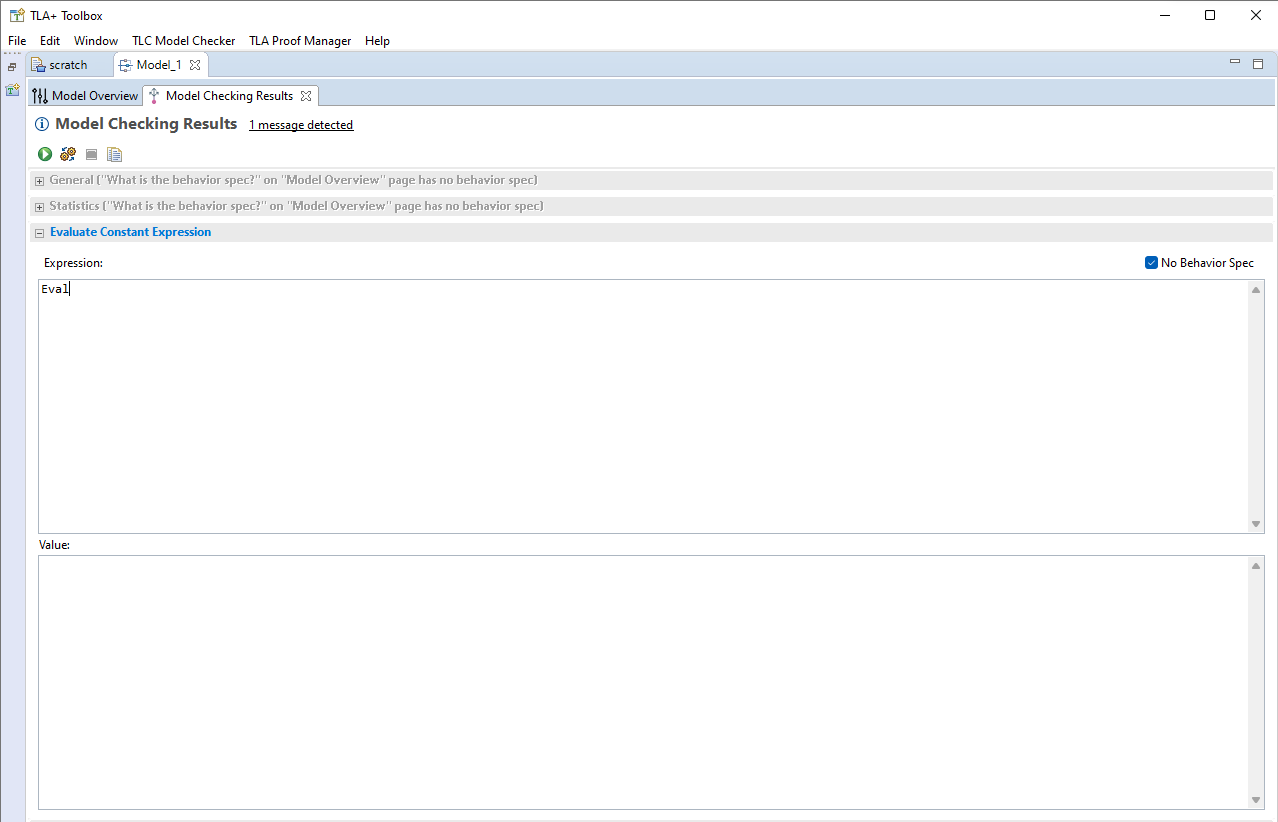
Now whenever I run the model, the output of Eval will be placed in the “Value” box below. In this case, it will be 0. But if I change the Eval expression, I get something different.
- Eval == 0
+ Eval == "hello world!"
Now running Eval will put “hello world!”.
Having a scratch file is very useful and I recommend setting one up. In the guide itself I will occasionally post “expression evaluations” like this
>>> 1+1

2
This just means that I set Eval == 1+1 and got 2 as the output. You can use this to check that you got the same results as me.
And with that, we’re ready to start learning TLA+!